Meter Readings
Overview
Keeping accurate meter readings can save a lot of hassle during tenant handovers, utility disputes and billing queries.
PaTMa allows you to record meter readings for each metered utility associated with a property, helping you maintain a clear history of usage over time.
Meter readings are especially useful for:
- Tenant move-in and move-out handovers
- Utility supplier disputes
- Tracking unusual usage
- Verifying opening and closing balances
You can also upload a photo of the meter when recording a reading, providing additional evidence and reducing the risk of mistakes.
ℹ️ Meter readings can only be logged by you or another landlord on the account. Tenants and suppliers cannot add readings.
Before You Begin
Before recording a meter reading, the relevant utility must already be set up for the property.
If you haven't added the utility yet, you can do that first using Utility Management.
Adding a Meter Reading
Open the relevant property from Your Portfolio and select the Utilities tab.

Locate the relevant utility and select the + icon in the Meter Reading section.

You'll then be asked to enter:
- Date Taken – The date the reading was recorded (not the date you are logging it)
- Reading – The exact meter reading
- Notes – Optional notes
- Photo – Optional photo of the meter
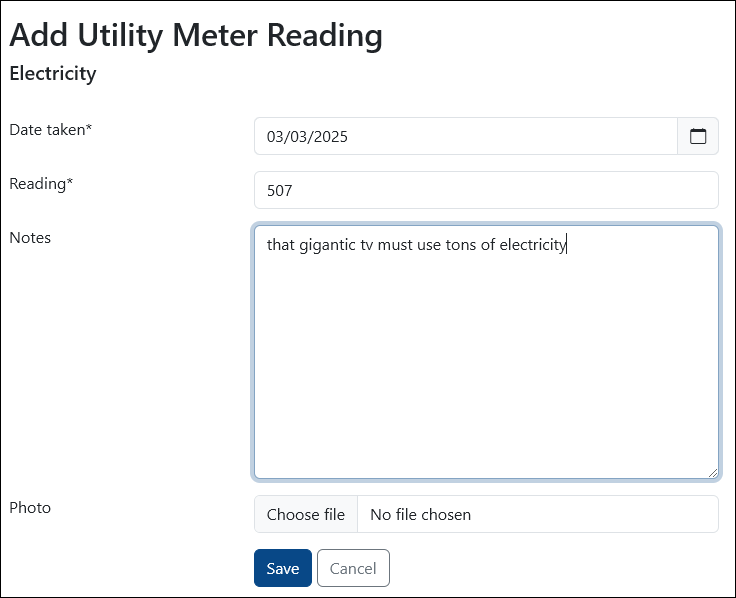
Once complete, select Save.
The reading will be stored immediately.
You can record as many meter readings as needed over the lifetime of the property.
Viewing Meter Reading History
Need to check past readings?
From the Utilities tab, locate the relevant utility and select the Rewind icon.

This opens the full meter reading history for that utility.
You can review all previously logged readings, including dates, notes and photos.
Editing a Meter Reading
Made a typo or entered the wrong reading?
Existing readings can be edited at any time.
Open the meter reading history as described above, then select the Edit icon next to the reading you want to update.
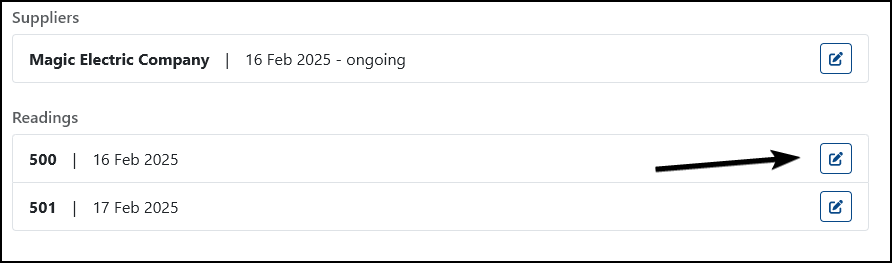
You can then update the reading using the same form used when creating it.
A Quick Tip
The most useful times to record meter readings are:
- At tenant move-in
- At tenant move-out
- When utility suppliers change
- During regular inspections
Adding a photo whenever possible gives you extra protection if readings are ever disputed.