Add Inventory Images
Overview
Photos can make an inventory significantly more valuable.
While written descriptions are useful, images provide clear visual evidence of an item's condition at the start of a tenancy. This can be especially helpful when resolving disputes around damage, missing items or wear and tear.
For larger or higher-value items, such as white goods, furniture or appliances, we strongly recommend adding at least one photo.
For example, photos can help if:
- An appliance is damaged during the tenancy
- Furniture condition is disputed at check-out
- Items are missing when the tenant leaves
- Existing wear or cosmetic damage needs to be documented
PaTMa allows multiple images to be stored against each inventory item.
In most cases, 1–2 images per item is more than enough.
For fully furnished properties, it's usually better to group similar items together rather than photographing every single item individually. For example, crockery can often be recorded as one grouped item rather than each plate separately.
Before You Begin
Inventory images are linked to inventory items, which are themselves linked to a tenancy.
Before adding images, you'll need:
If you haven't yet created the inventory, set that up first.
Adding Images
If you're already working in the inventory, you're in the right place.
Otherwise:
- Open Your Portfolio
- Select the relevant property
- Open the Tenancies tab
- Open the tenancy
- Select Inventory
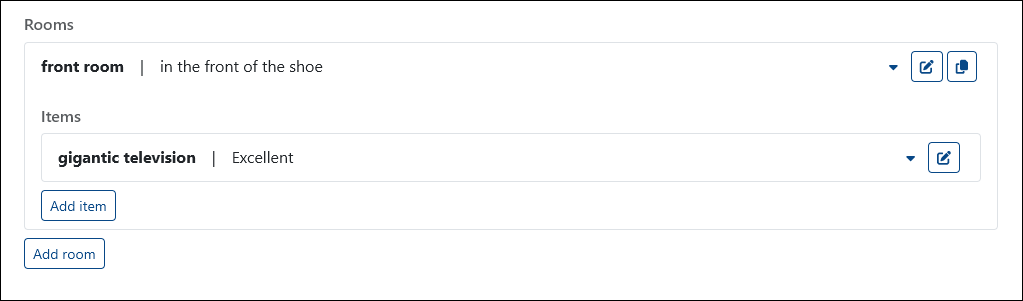
Locate the inventory item you want to add images to.
Select the triangle icon to expand the image section and view any existing images.

Select Add Image.
This opens the upload area directly within the inventory item.
You can either:
- Drag and drop images from your desktop
- Click to browse files on your computer
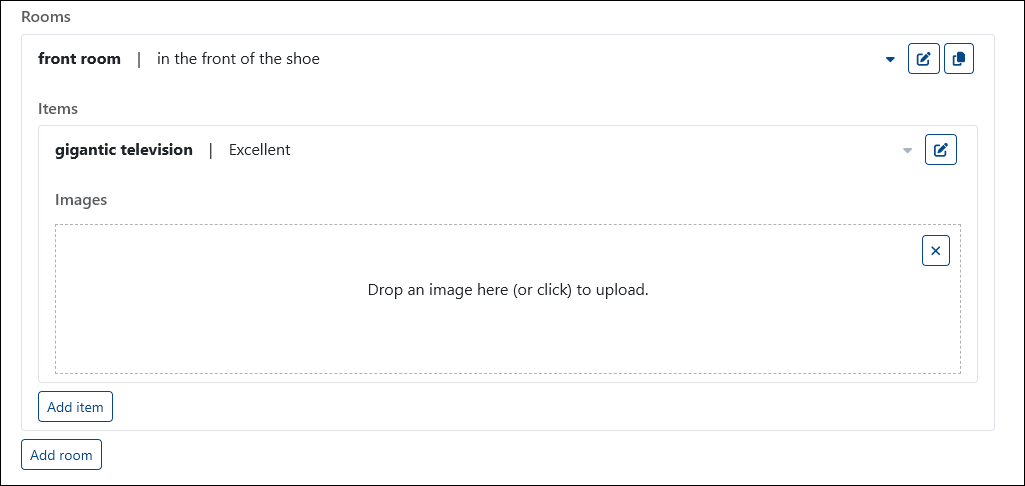
Once the upload completes, the image is saved automatically.
Deleting Images
Need to remove or replace an image?
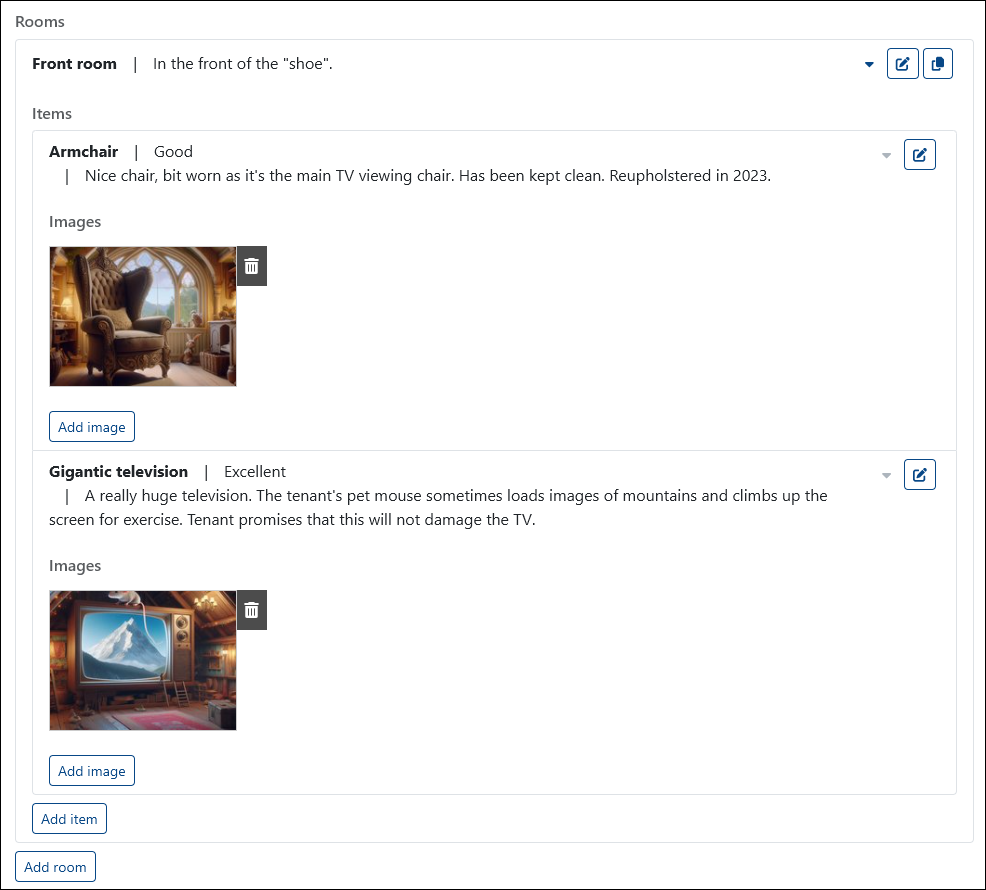
Open the item's image section using the triangle icon, then select the trash icon beside the image you want to remove.
⚠️ Deleted images are permanently removed and cannot be recovered by PaTMa.
A Quick Tip
Try to photograph items in good lighting and from angles that clearly show their condition.
Close-up images of scratches, dents or existing damage can be particularly useful later if condition is disputed.